How to Clean and Condition Your Baseball Glove
Taking care of your glove doesn't have to be complicated. With the right products and a little time, you can keep your glove in excellent playing condition for years. I recommend cleaning and conditioning your glove between seasons and definitely before relacing. When you use proper products, you really can't overdo it.
What You'll Need
Glove Doctor Clean-Up leather cleaner (or mild hand soap)
Glove Doctor Glove Medicine conditioner
Specialized cleaning sponge (woven side and terry cloth side)
Clean rag
Cool, dry place for drying
IMPORTANT: NEVER use dishwashing liquid or any detergent on your glove. These products can damage the leather. Soap and water won't hurt the leather - in fact, Glove Doctor Clean-Up is specifically formulated to open the leather's natural properties and nurture it deep down.
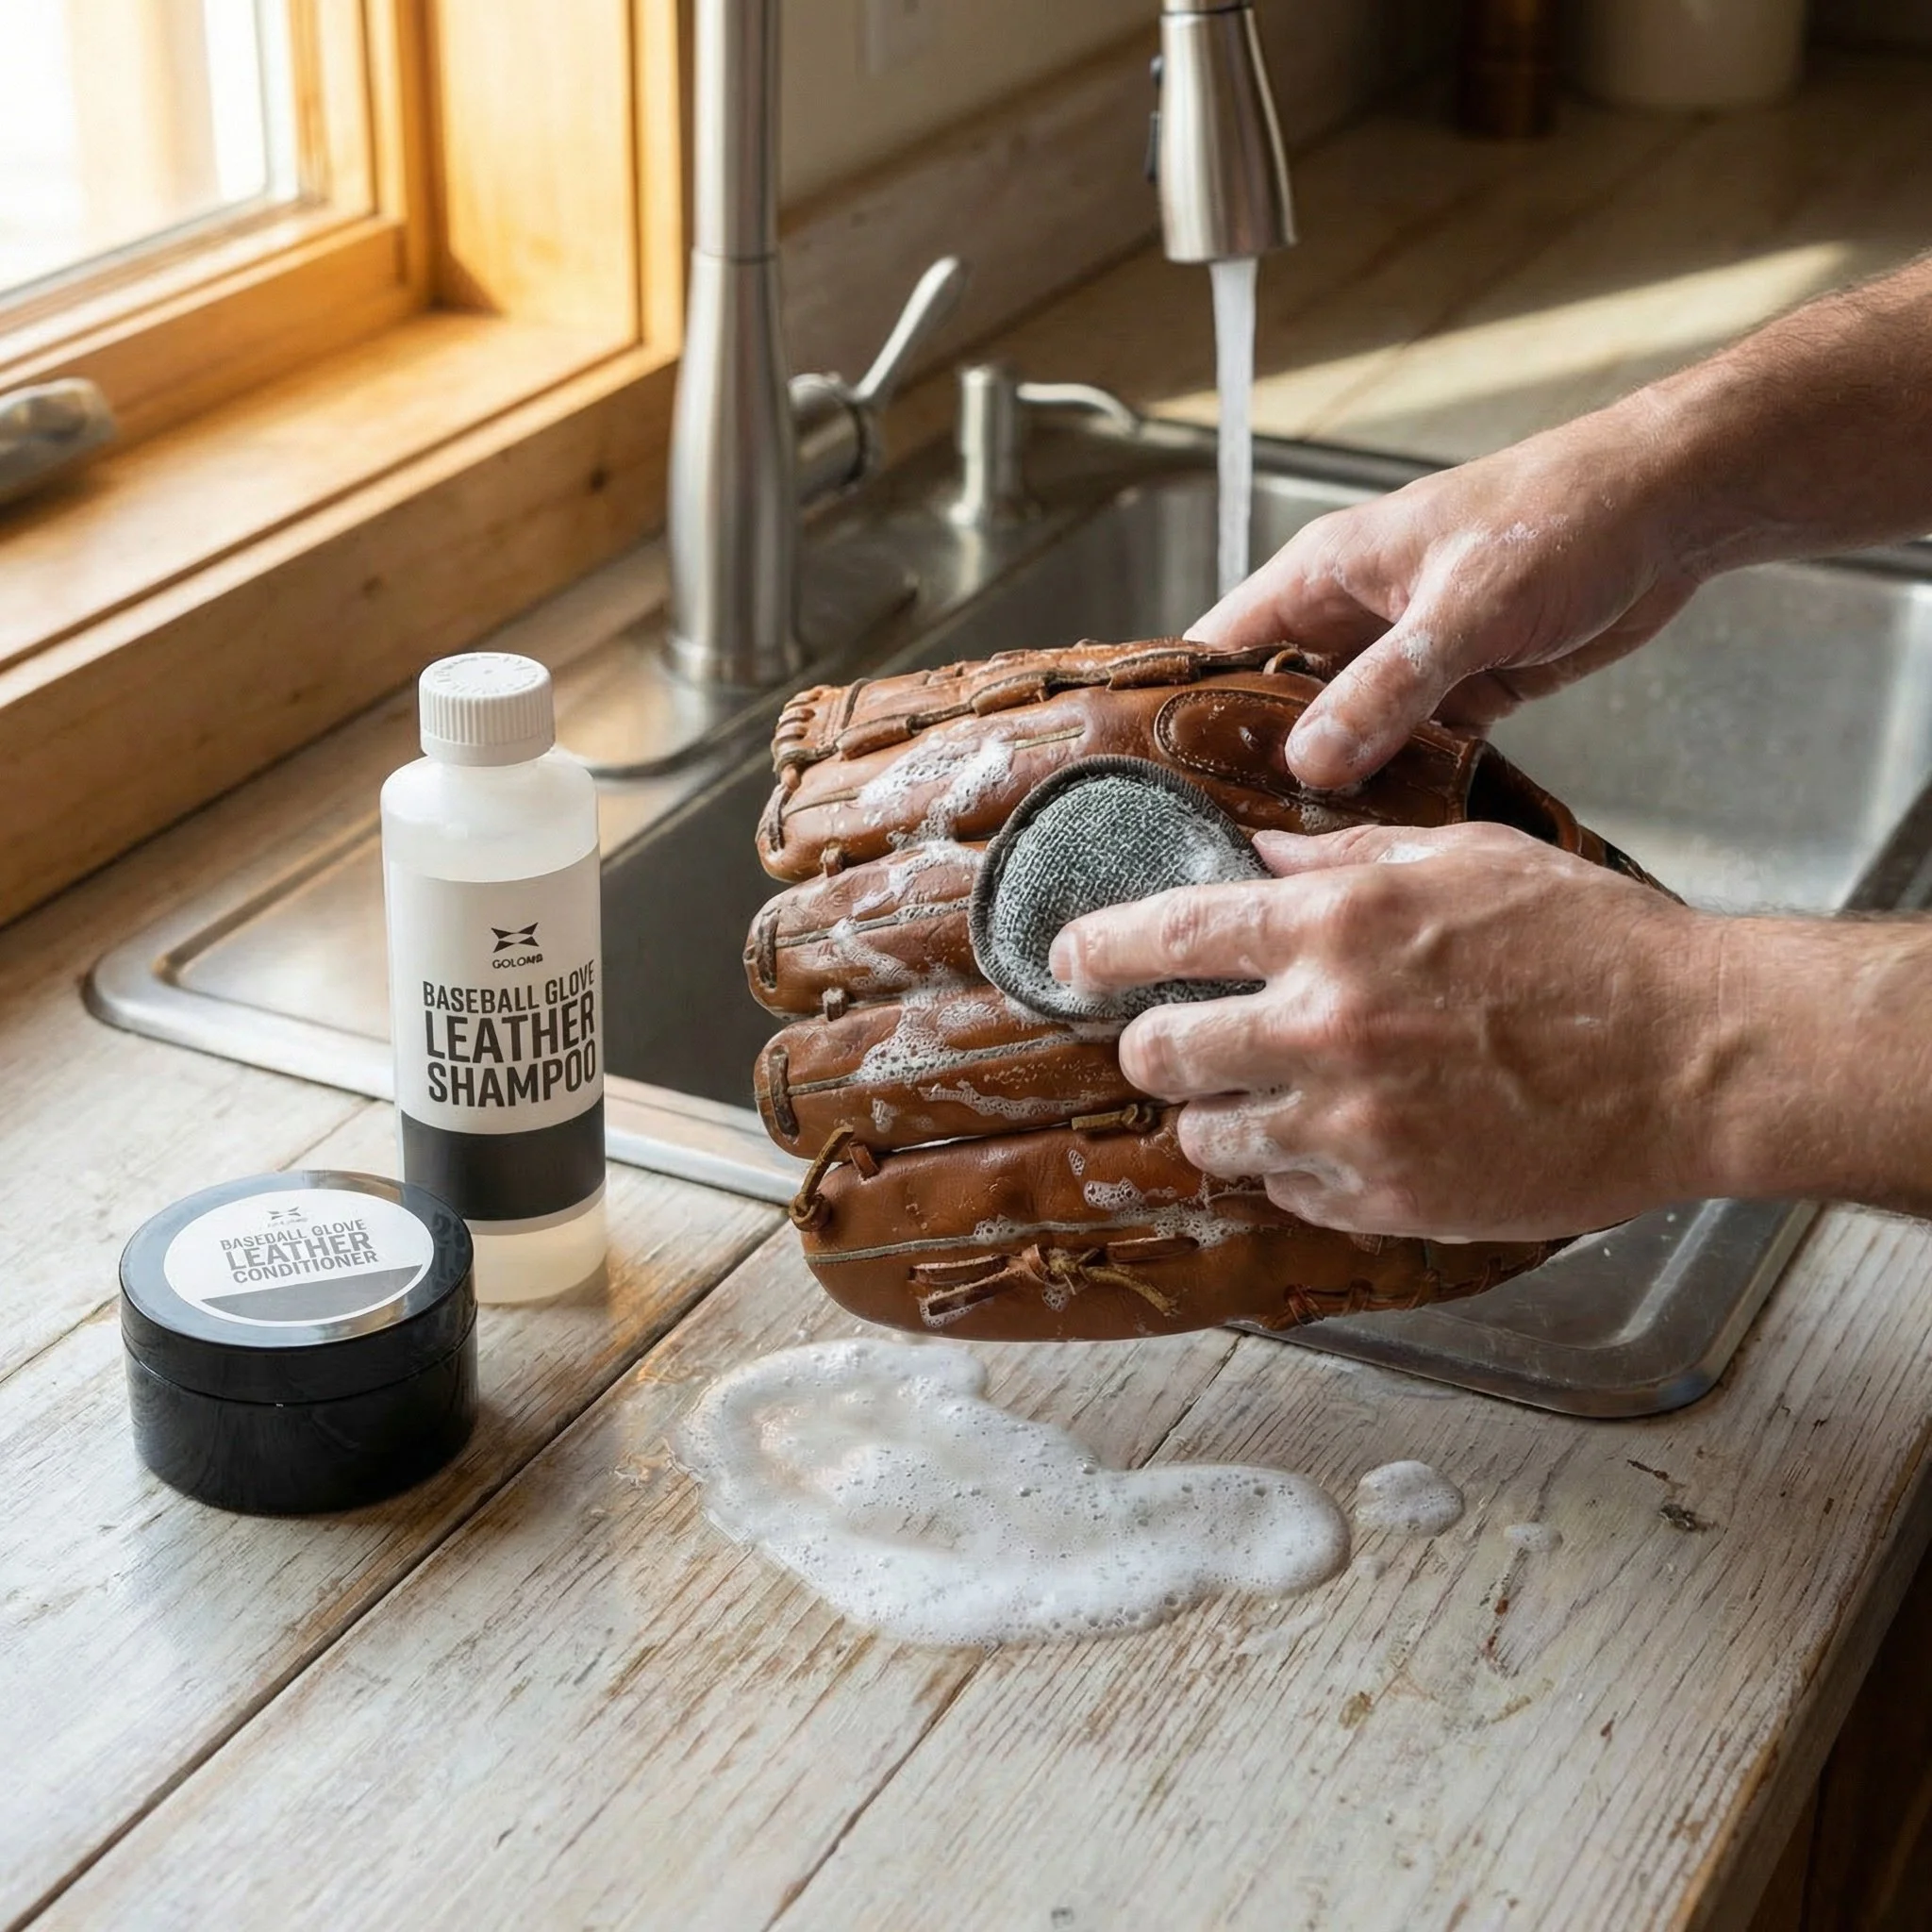
Step 1: Clean the Glove
Start by cleaning your glove completely with Glove Doctor Clean-Up leather cleaner or mild hand soap. Always follow the directions on the Clean-Up leather cleaner label carefully.
Use the specialized sponge to gently scrub and rinse the dirt and grime from the glove's leather:
The woven side is perfect for gentle scrub cleaning
The soft terry cloth side is ideal for removing excess soap and water
This operation is basically washing the glove leather to remove any dirt, grime, and mold that may have built up during use. Take your time and be thorough - you want to get into all the creases and hard-to-reach areas.
Step 2: Dry Completely
Let the glove dry completely in a cool, dry place naturally. This is crucial - don't rush the process.
NEVER put your glove in an oven or use a blow dryer. Artificial heat can crack and damage the leather. Just let it air dry naturally. Depending on humidity, this may take several hours or overnight.
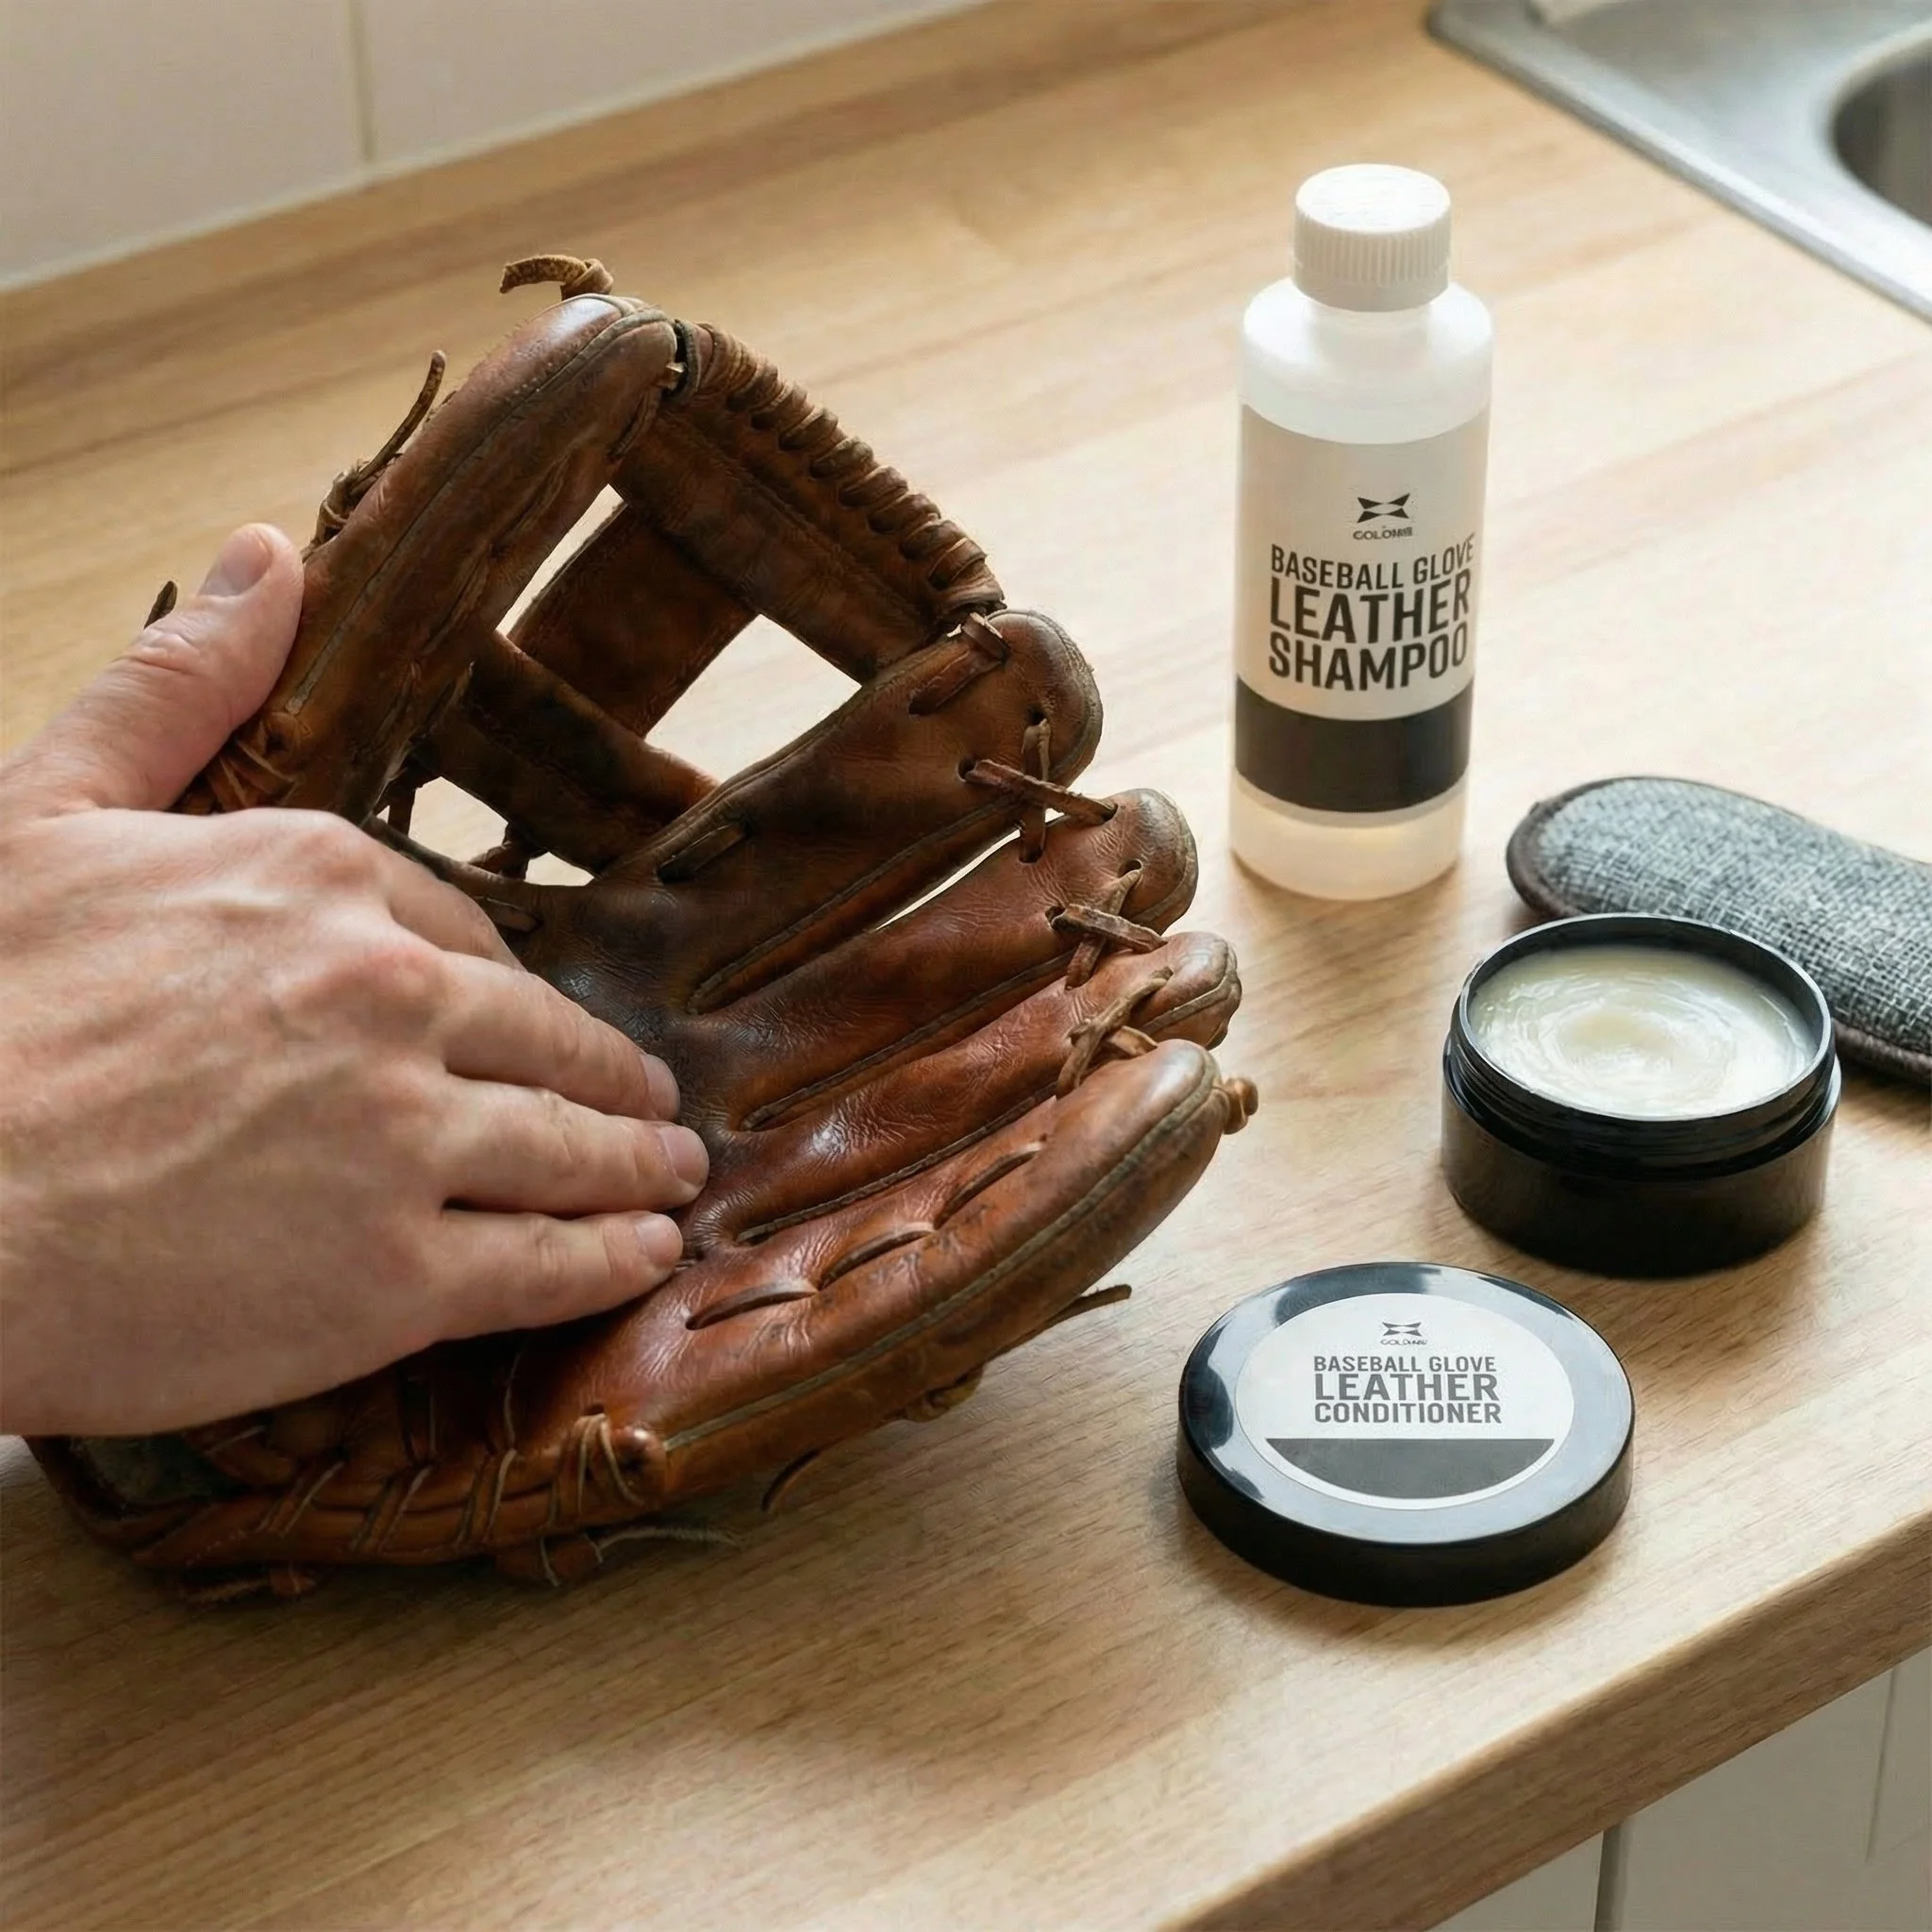
Step 3: Apply Conditioner
Once the leather has completely dried, you're ready to condition.
Apply Glove Doctor Glove Medicine directly from the jar using your fingertips. Spread the specially formulated conditioner on all surfaces of the glove's leather - inside and out. Don't forget areas like:
Between the fingers
The palm area
The heel and wrist
All lacing and webbing
After you've worked the conditioner into all surfaces, wipe off any excess Medicine with a clean rag.
Why This Matters for Relacing
If you're planning to relace your glove, cleaning and conditioning beforehand is especially important. Once you remove the old laces, you'll have access to areas that are normally impossible to reach - between the fingers, deep in the pocket, along the palm area. Cleaning first removes all the built-up dirt and grime, and conditioning softens the leather, making the relacing process much easier.
The Results
If you follow these steps correctly, you'll find the results very satisfying. Your glove will be clean, conditioned, and ready to perform at its best. The leather will feel supple and responsive, and you'll have extended the life of your glove significantly.
Remember, proper care isn't just about making your glove last longer - it's about keeping it performing the way you need it to on the field.