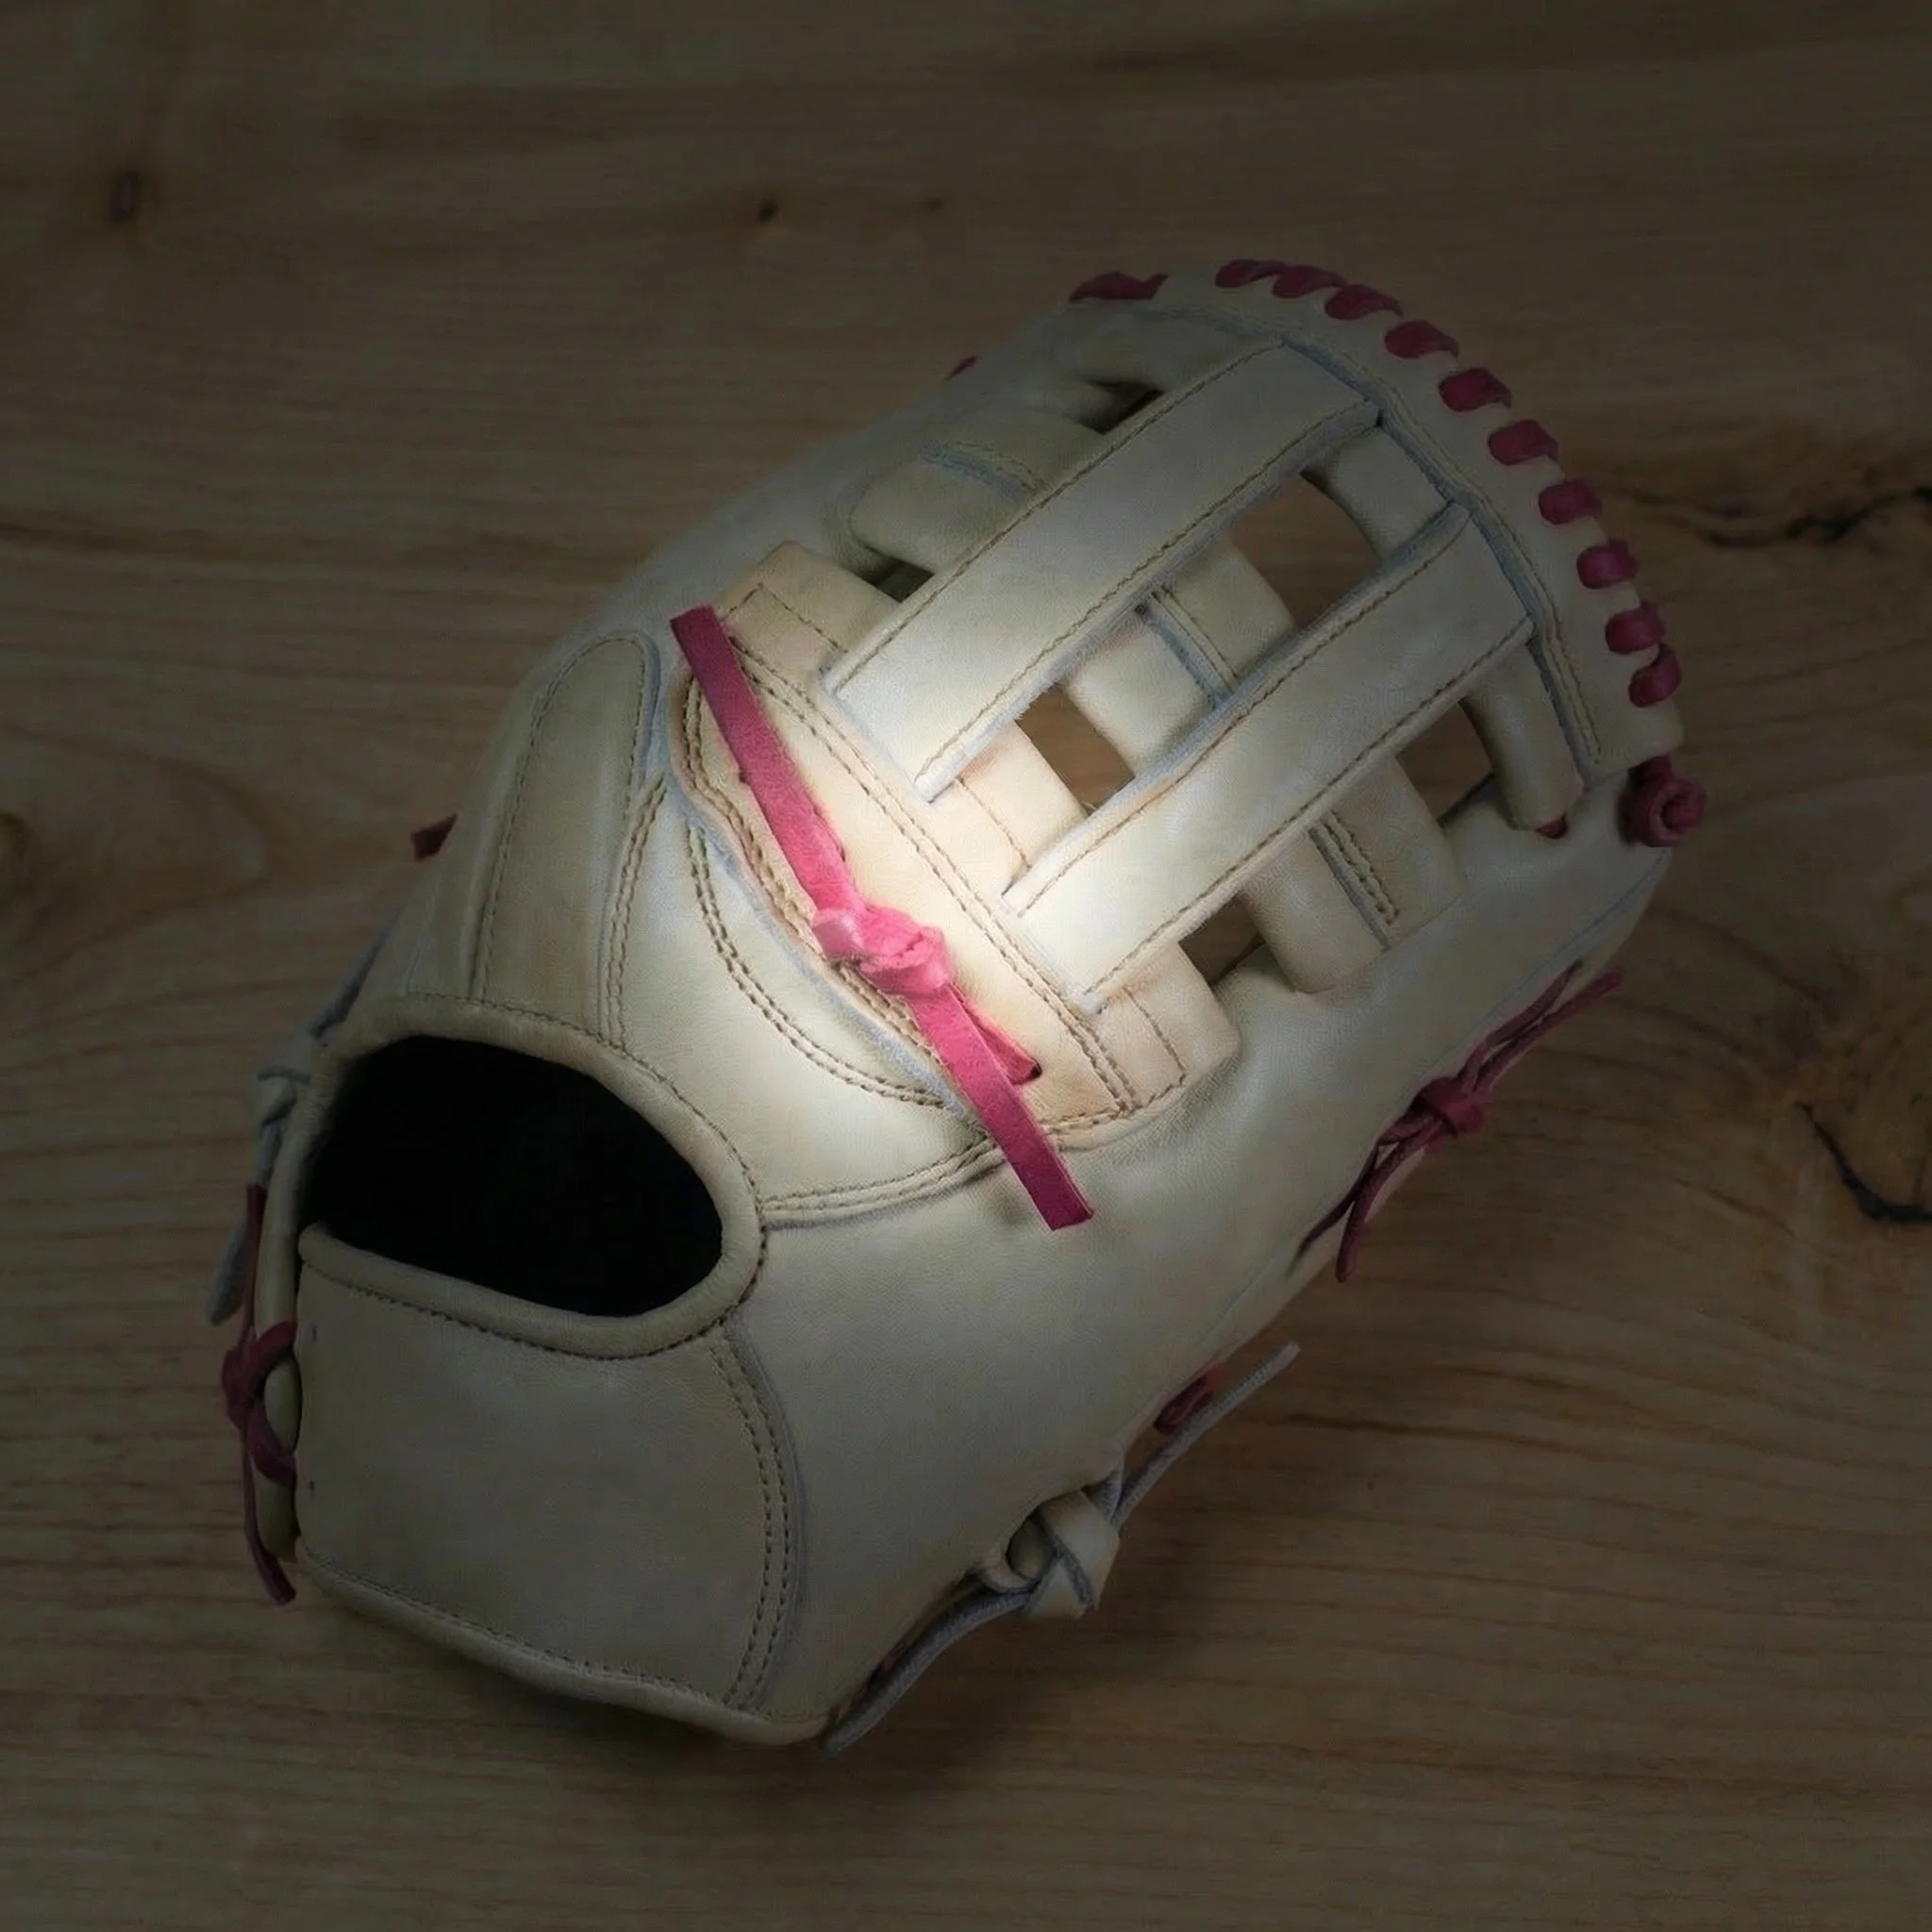
Essential Tips for Relacing Your Baseball Glove
A broken lace doesn't mean your beloved glove is destined for the trash. Whether you've got a favorite mitt that's been with you for years or you're looking to refresh a glove's appearance, relacing can restore its structure, performance, and give it new life.
At GOLOMB, we're passionate about helping players care for their equipment. We're constantly working on more tutorials and videos to share, and we're always happy to help answer questions about lacing your glove. There are also many excellent YouTube videos from other creators that walk you through the process step-by-step. Whether you tackle it yourself or work with a professional, understanding these fundamentals will help you maintain your glove properly.
Here are the essential tips every player should know before starting a relacing project:
1. Master the Baseball Glove Knot
The baseball glove knot is the foundation of a secure relace. Most glove lacing uses a square knot, which provides strength and a clean appearance when tied correctly. Here's the proper technique:
Start with the unfinished (suede) sides of both lace ends together. Cross left over right, then pull through. Next, cross right over left and pull tight. The key is working with the grain side (smooth side) facing up while tying, which creates a flat, secure knot that won't come undone during play.
A properly tied square knot will lay flat against the leather and hold tension without slipping. Practice this knot a few times before starting your project - you'll be tying quite a few of them!
2. Keep the Finished Side Up, Suede Side Down
This might seem like a small detail, but lace orientation makes a significant difference in both appearance and durability. The finished (smooth, grain) side of the lace should always face outward on the glove, with the suede (rough) side against the leather.
Why does this matter? The smooth side is more resistant to wear and looks cleaner.

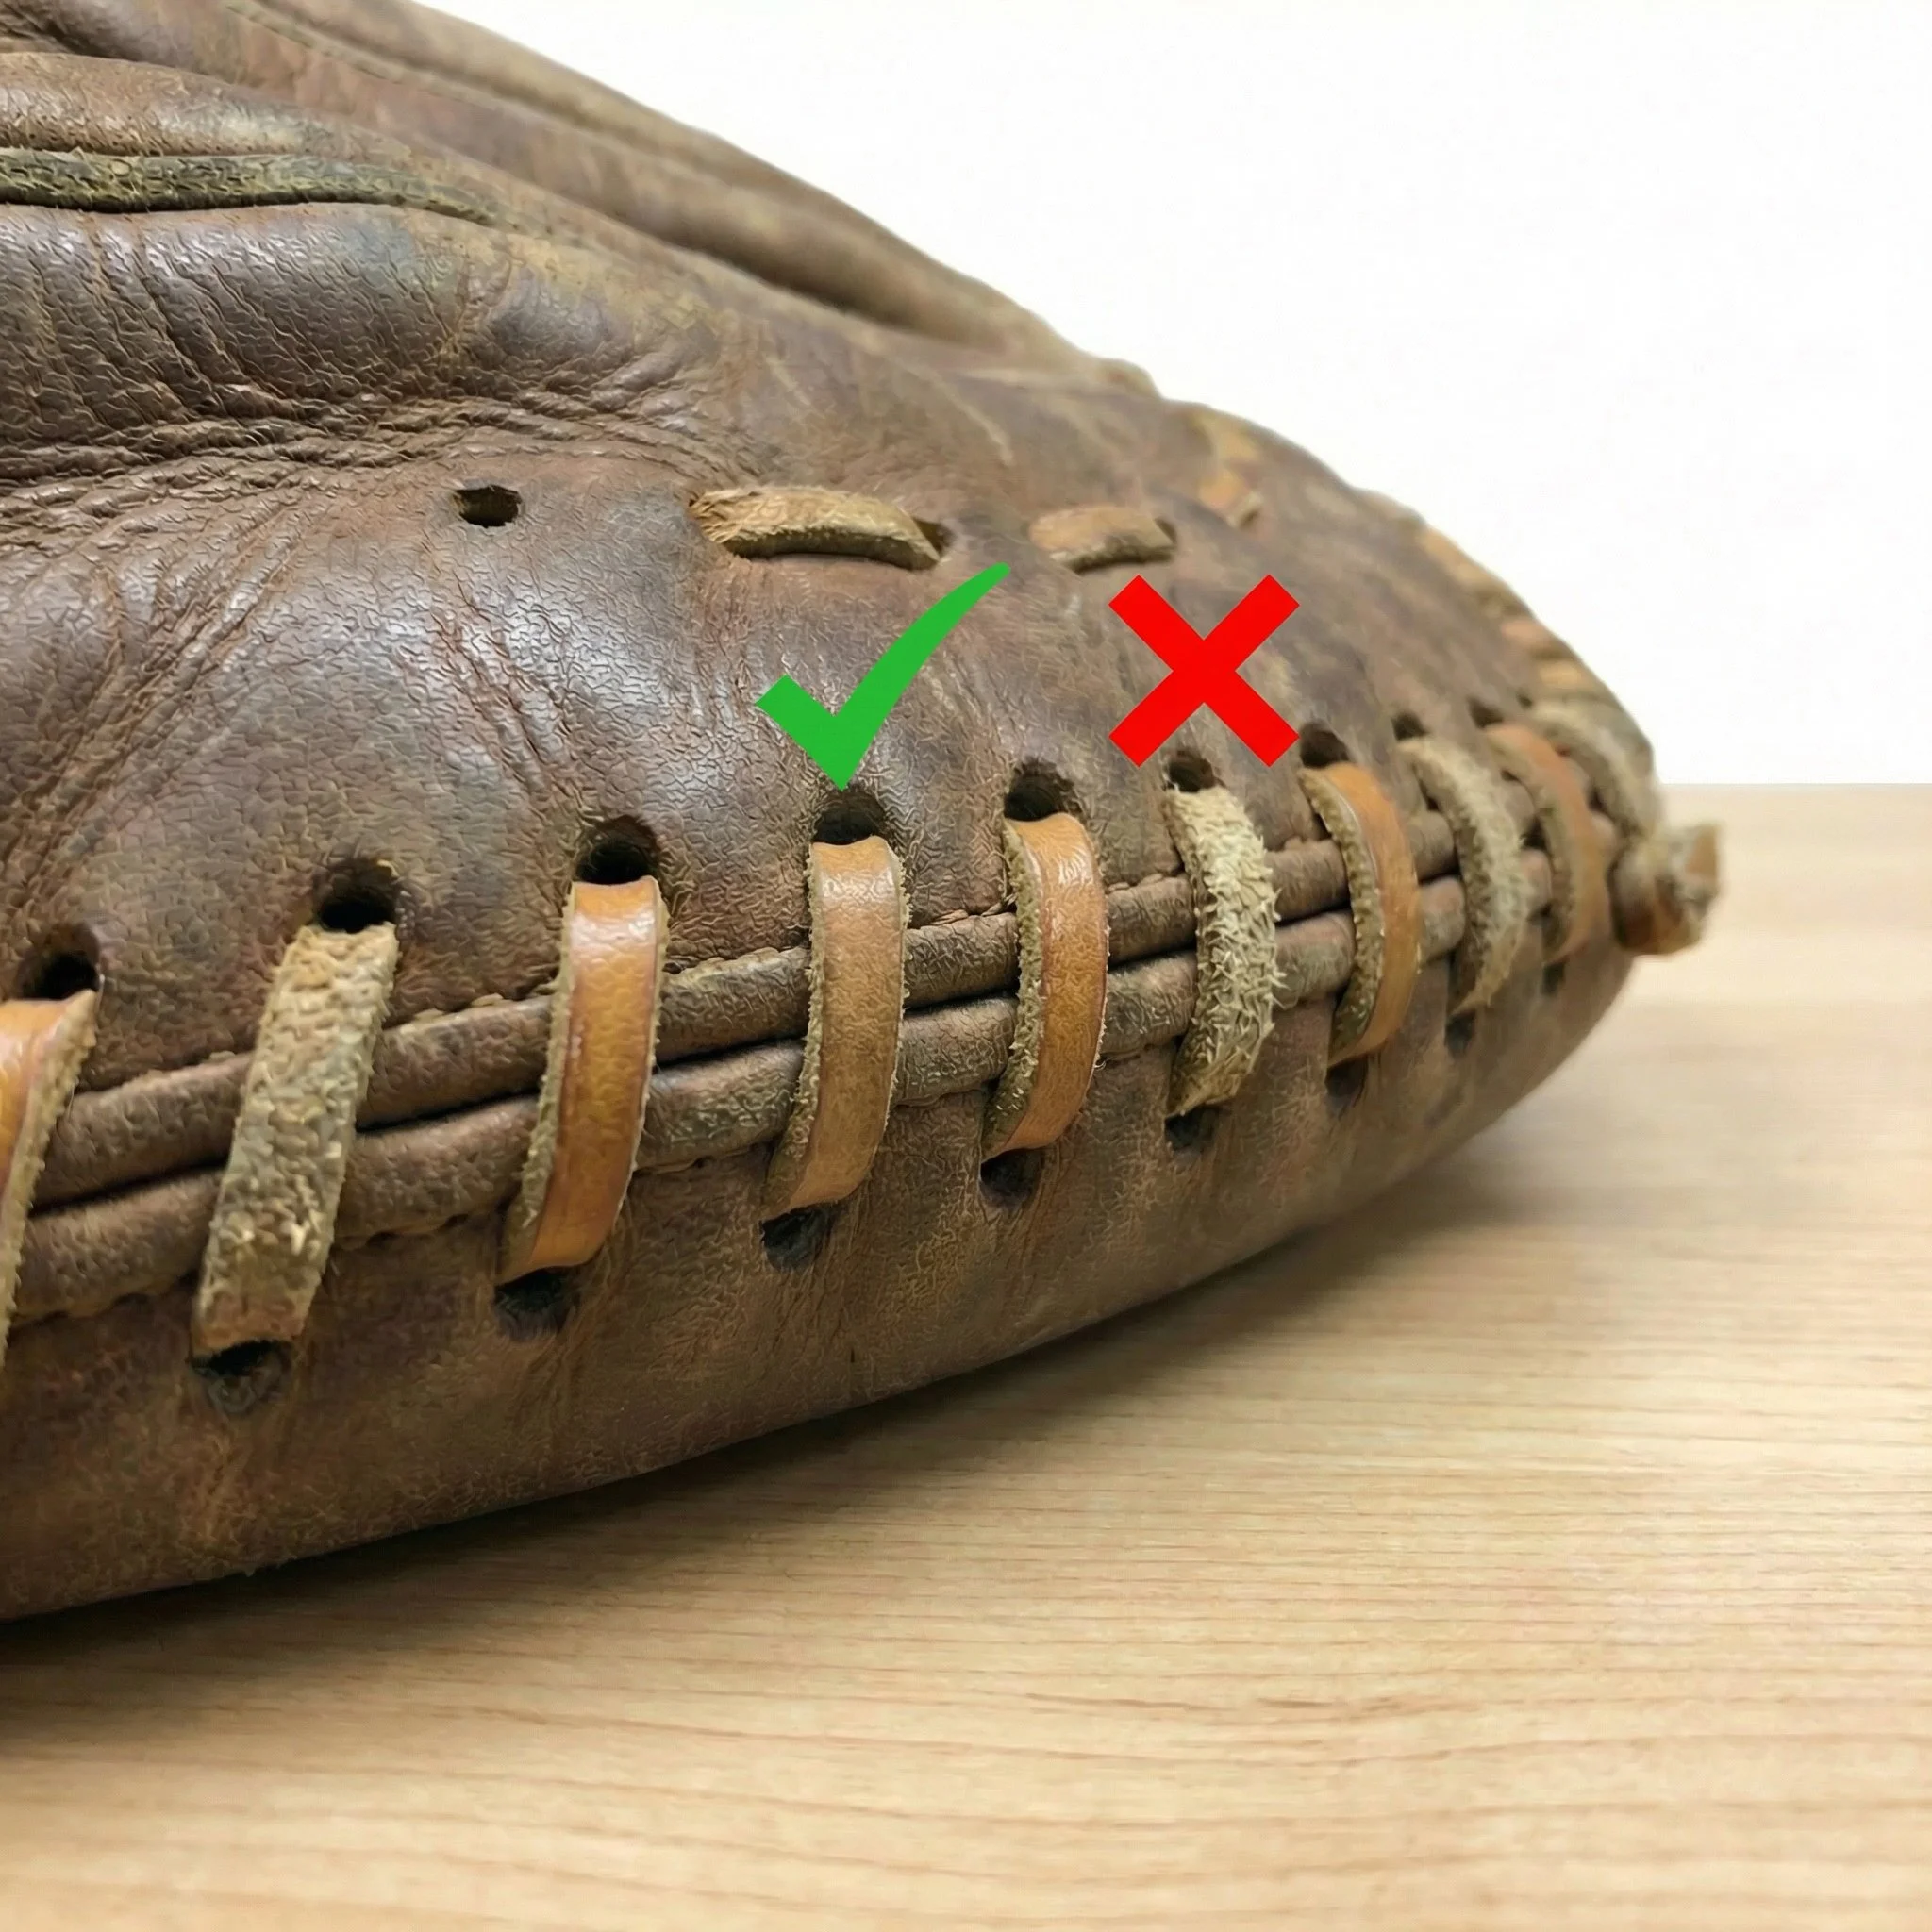
3. Know When and Where to Skive Your Lace
Skiving (or thinning) leather lace is a professional technique that can make specific areas of your glove more comfortable and easier to work with. Skiving splits the lace to reduce its thickness without changing its width, typically from about 2.4-2.75mm down to approximately 1.6mm.
When to skive:
Palm lace: This area sees constant contact with your hand. A thinner lace (3/16" skived) provides better comfort and a more natural feel
Finger hole lace: Quarter-inch lace should be skived for finger holes to thread through more easily while maintaining strength
Heel lace: Especially on catcher's mitts or first baseman's gloves, skiving the heel lace gives you extra length and flexibility while keeping the strength you need
While skiving reduces thickness slightly, which may affect longevity marginally, the improvement in comfort and ease of installation is usually worth it.
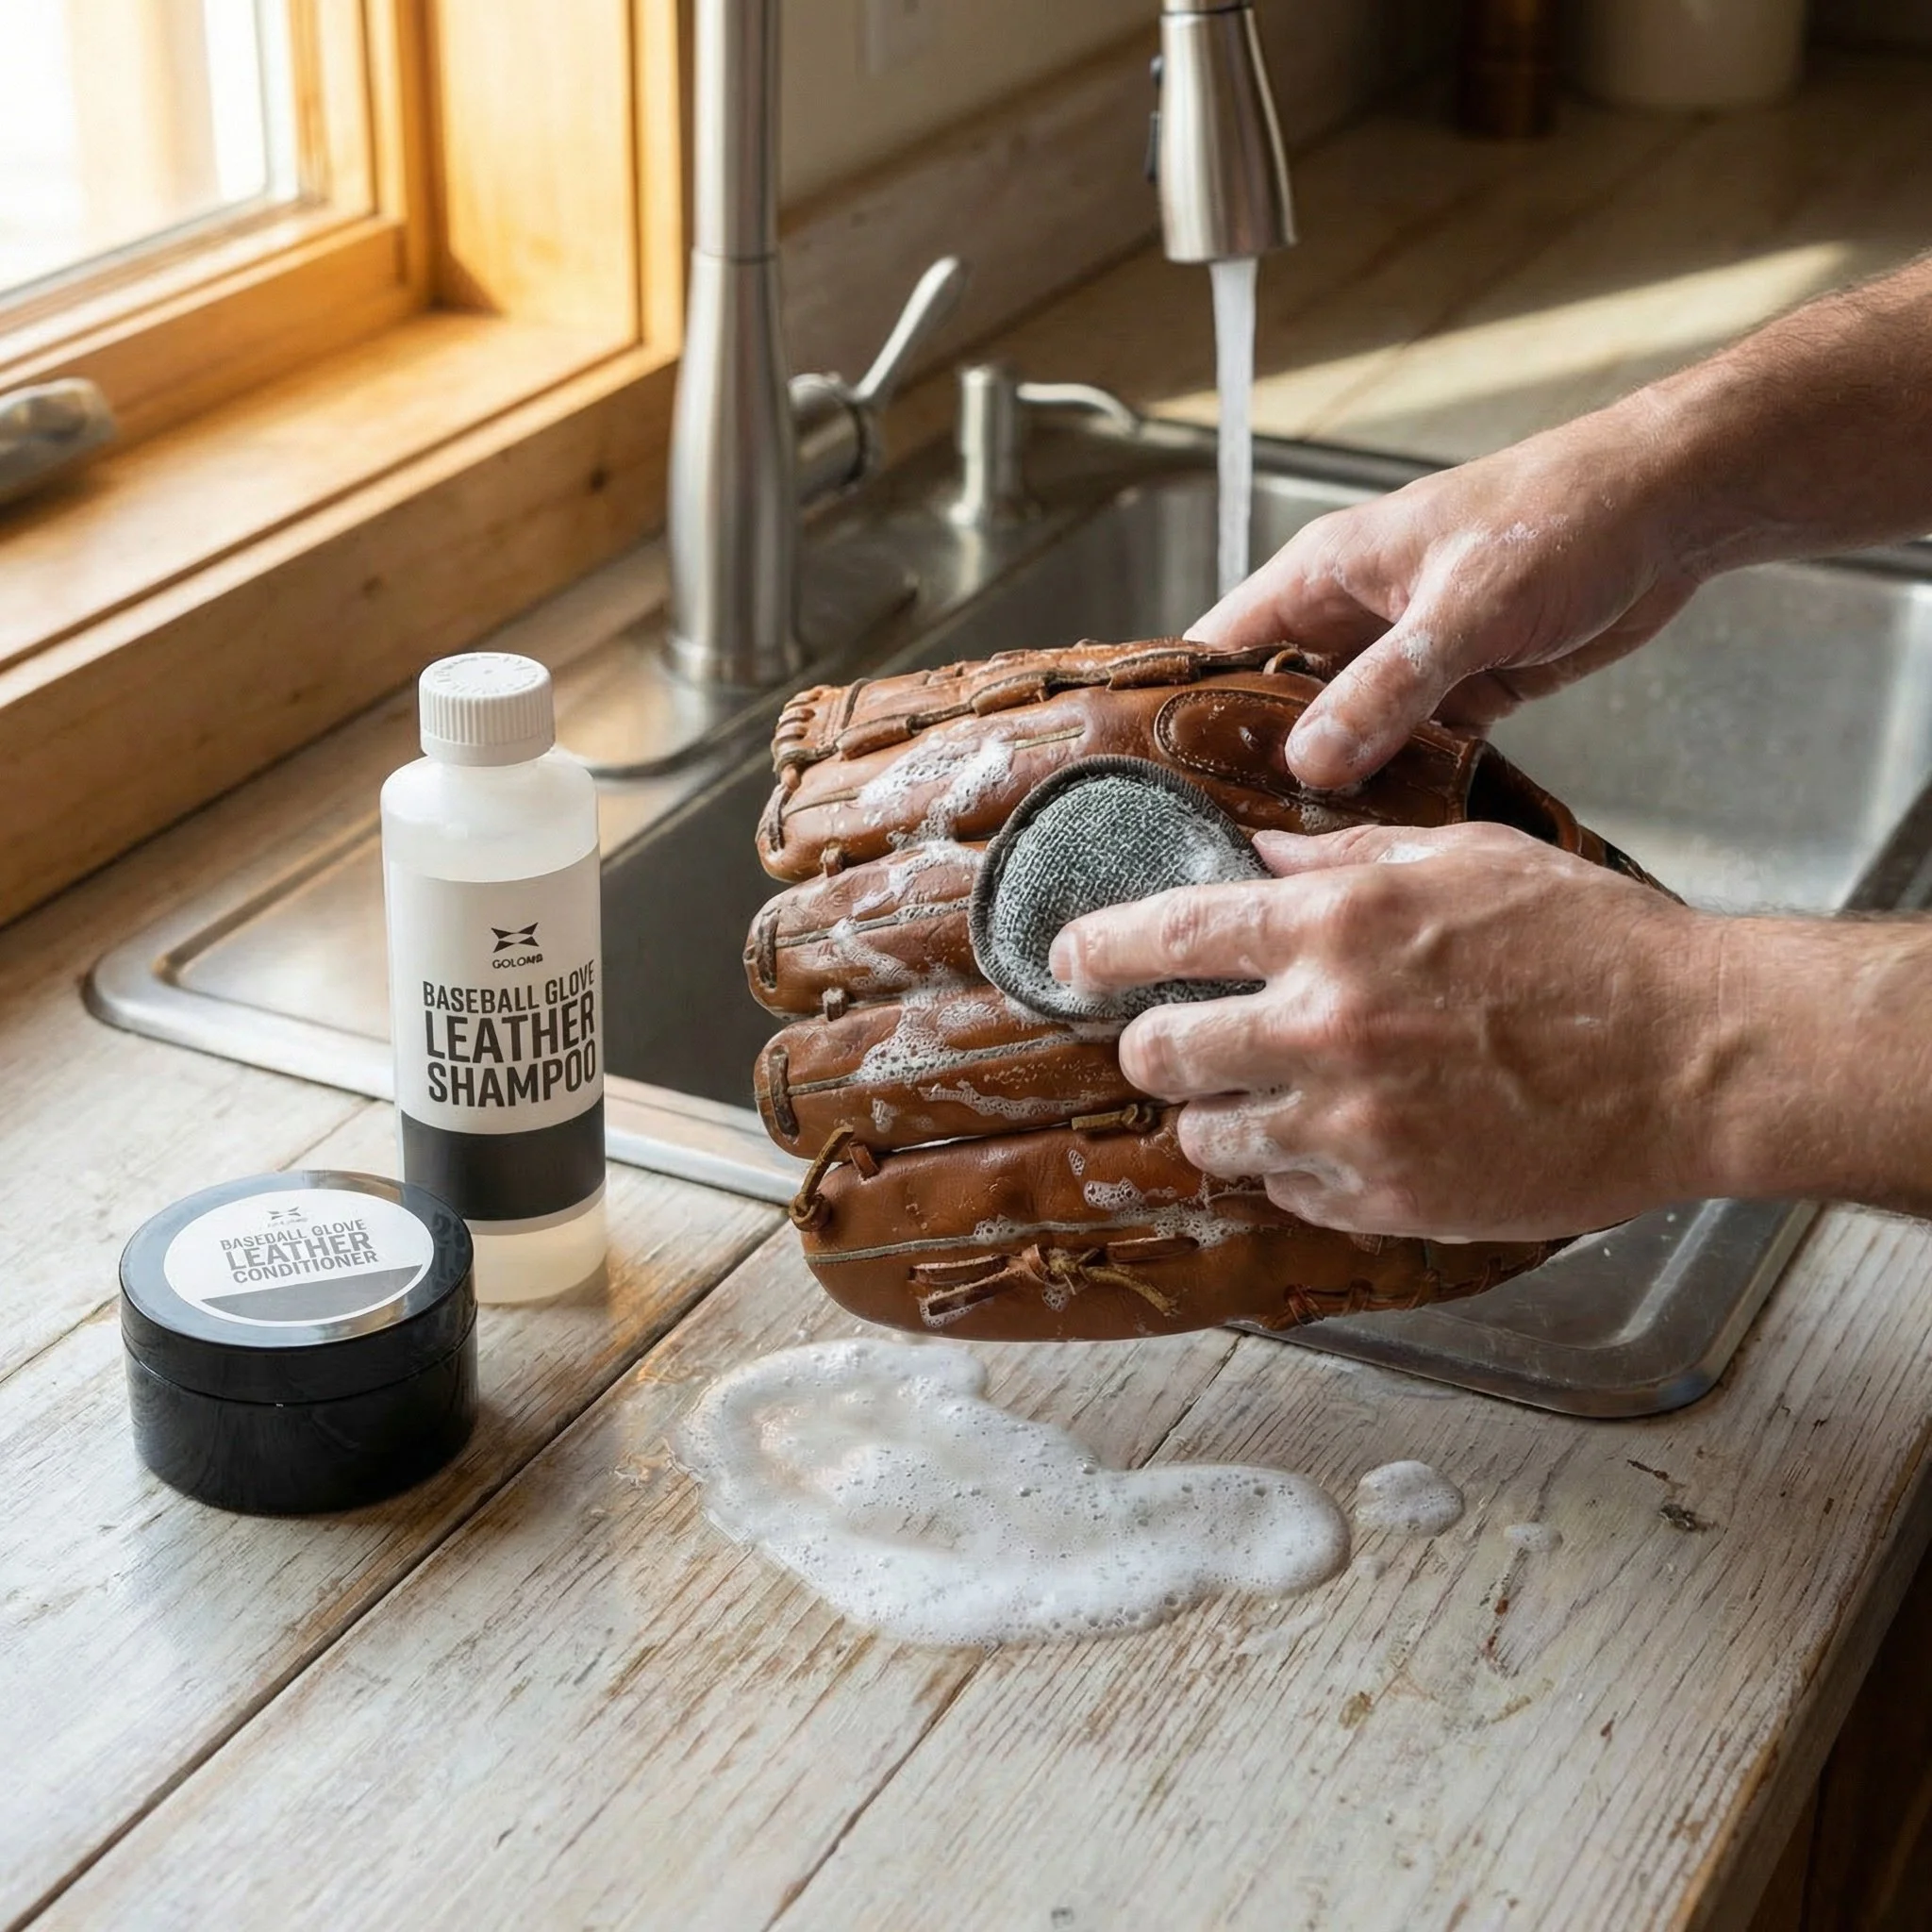
4. Clean and Condition Before You Start
This step is often overlooked, but it's crucial for both the quality of your relacing job and the longevity of your glove. Once you remove the old laces, you'll have access to areas that are normally impossible to reach - between the fingers, deep in the pocket, along the palm area.
Take advantage of this opportunity to thoroughly clean the leather with the GOLOMB Leather Shampoo and Pro-Cleaning Pad to remove dirt, sweat, and debris.
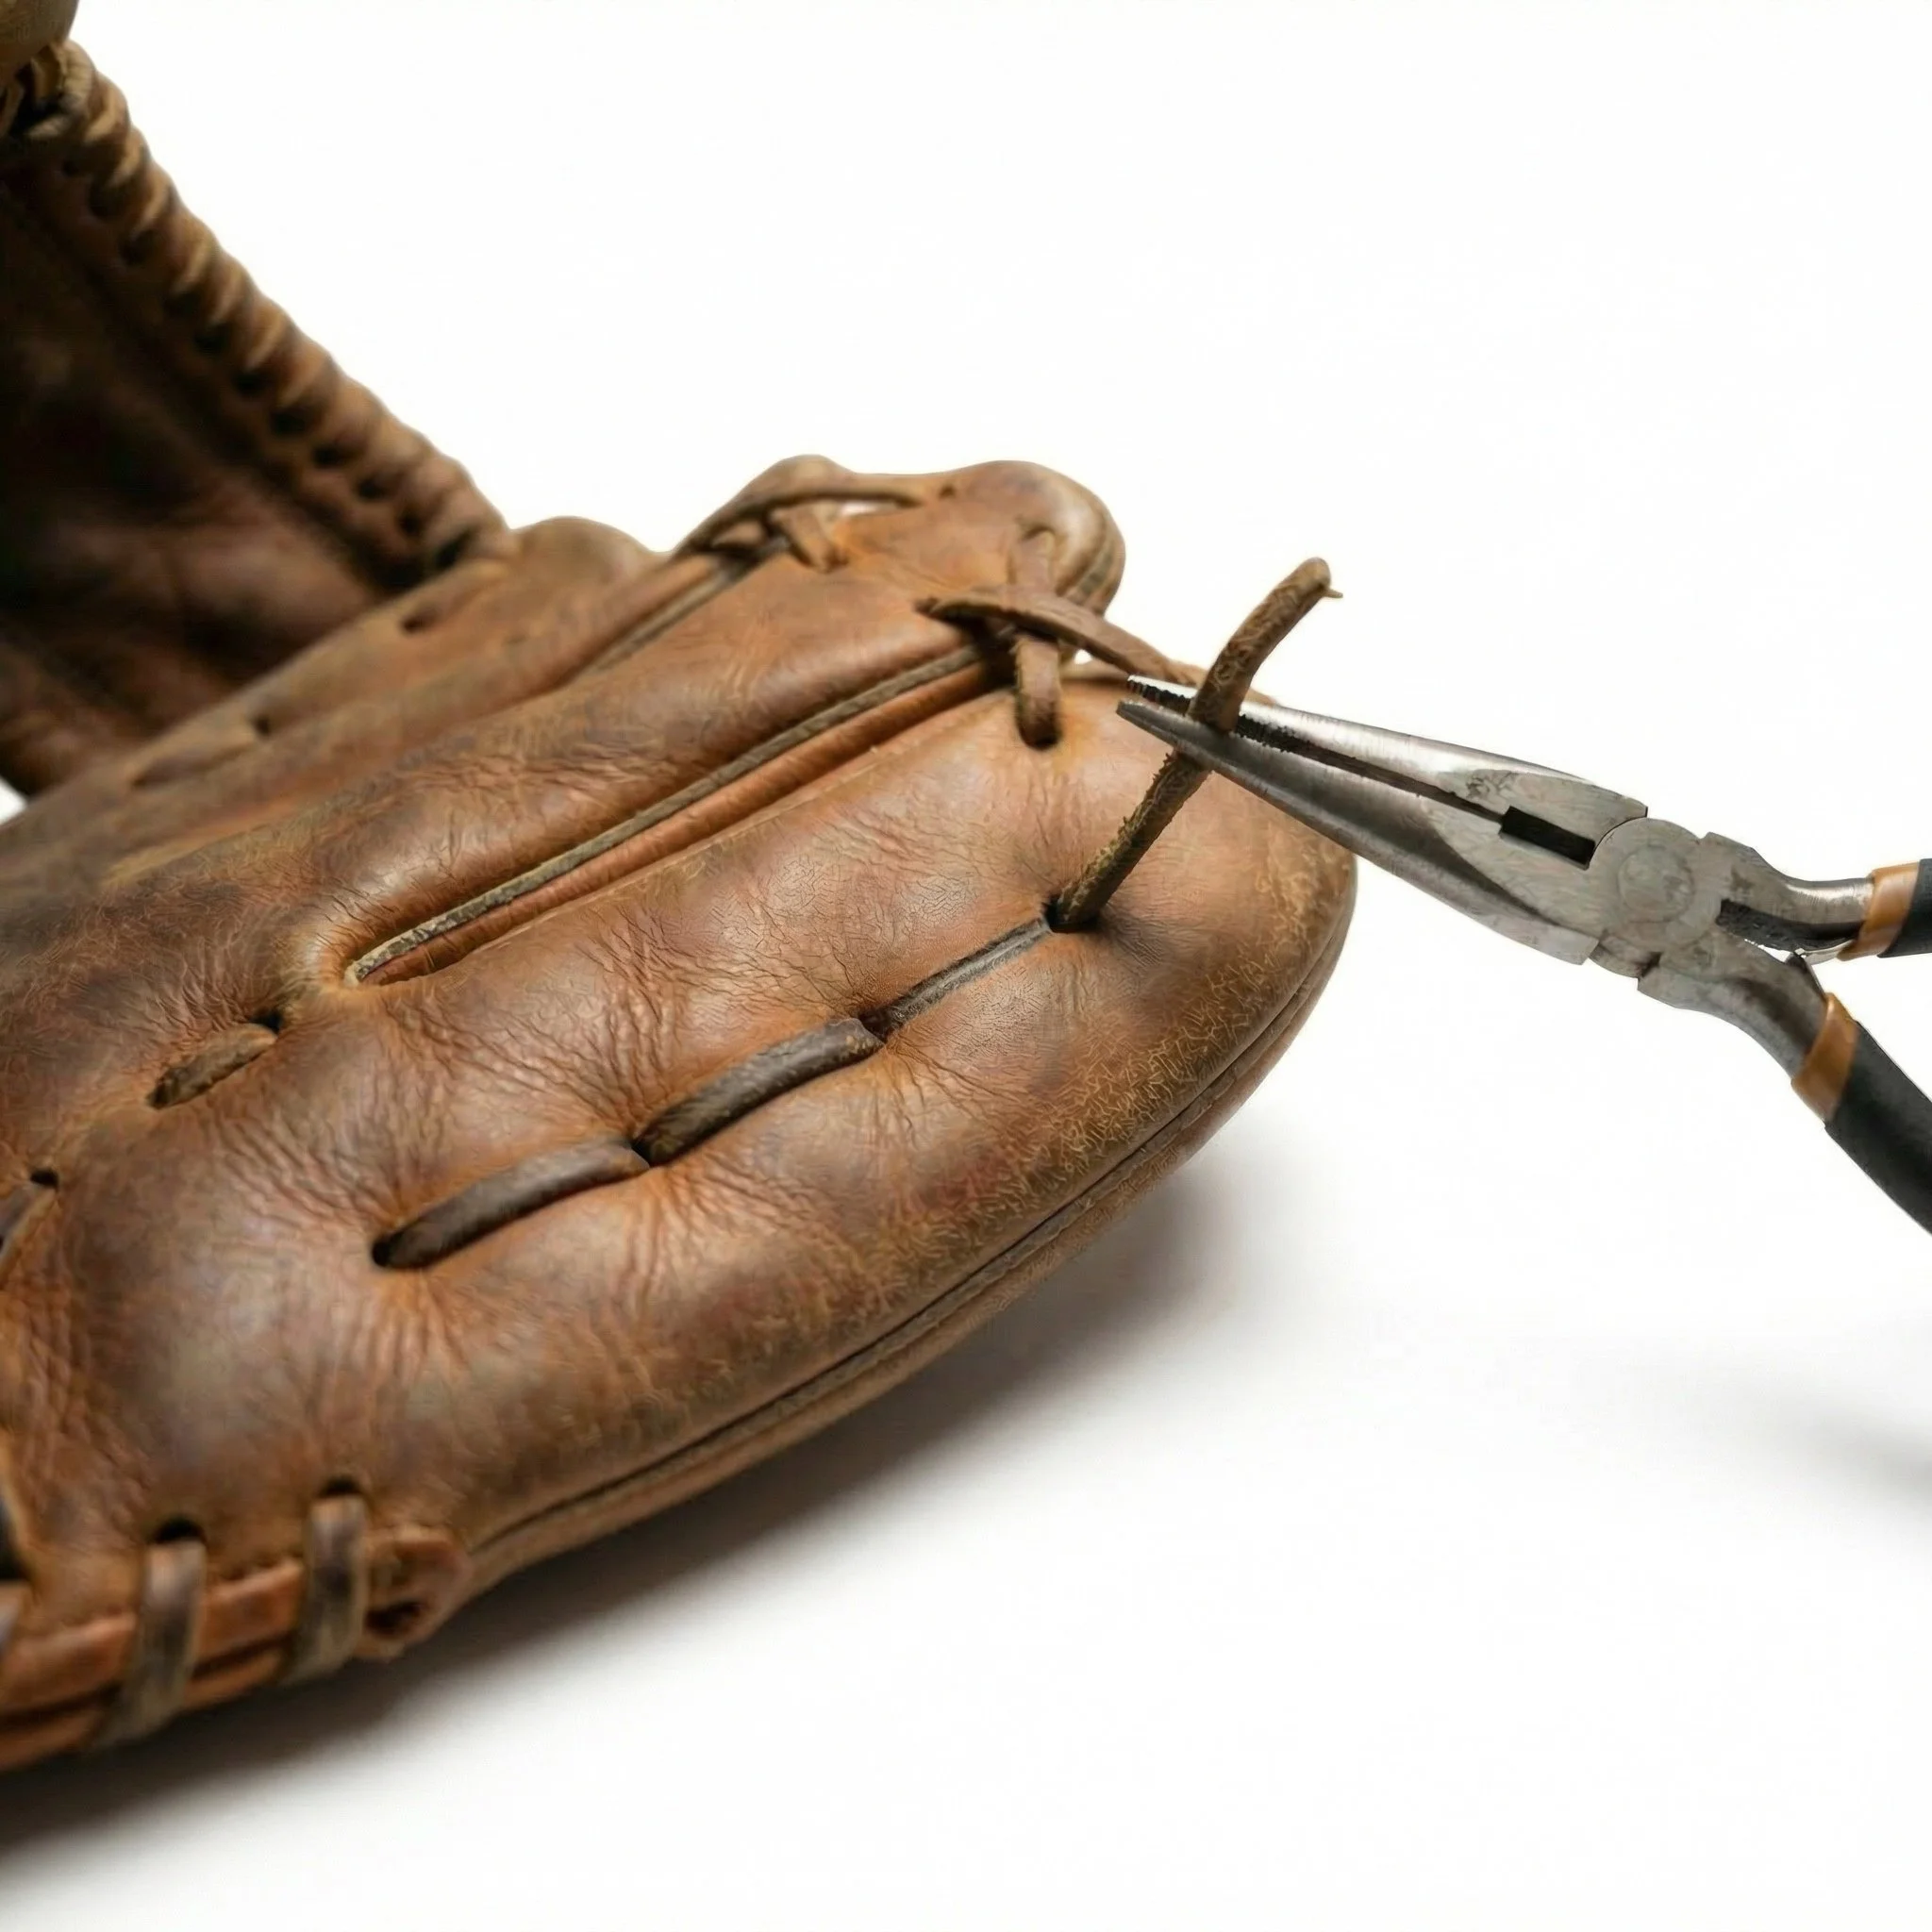
5. Follow the Shadow - Document the Original Pattern
Before you remove a single piece of old lace, take the time to document how your glove was originally laced. When laces have been in place for a while, they leave impressions or "shadows" in the leather that show the path they took. These shadows are your roadmap.
Take clear photos from multiple angles - front, back, close-ups of the web, finger areas, and heel. Better yet, shoot a quick video of the entire glove. If the pattern looks complex, consider sketching a diagram and numbering the holes.
Many new lacers may benefit from removing and replacing just one section at a time, keeping the rest of the original lacing in place as a reference. This "one section at a time" approach minimizes mistakes and keeps you from getting lost in the pattern.

6. Use the Right Lace Size for Each Area
Not all laces are created equal, and different sections of your glove require different widths and lengths. Using the proper size lace for each area ensures the best performance, comfort, and durability.
Standard lace sizing:
Web lacing: 1/4" width, length varies by web style (H-web needs about 54", I-web needs 24"-34", basket webs need 48")
Fingers and finger tops: 1/4" width, approximately 48-54" length
Palm: 3/16" width (preferably skived), approximately 27-28" length
Thumb: 1/4" width, approximately 24" length
Heel: 3/16" width or 1/4" skived, approximately 36" length
Pinky finger: 1/4" width, approximately 24" length
For a complete relace of a standard fielder's glove, you'll typically need four to five 72" laces (mix of 1/4" and 3/16"). Catcher's mitts, first baseman's gloves, and trapeze webs may require five to six laces due to their larger size and more complex patterns.
Most quality leather laces come in 72" lengths, which gives you room to work without waste. It's always better to start with too much - you can always trim excess, but running short mid-section is frustrating!
Ready to Relace?
With these essential tips in mind, you're well-equipped to tackle a relacing project. Remember, the first time will take longer and might feel challenging, but each glove you work on will build your confidence and skill. Take your time, follow the original pattern, and don't hesitate to reach out if you have questions.
Whether you're restoring a vintage family heirloom or refreshing your game-day glove, proper relacing is a valuable skill that keeps quality equipment in play for years to come.
Need laces or restoration services? We offer professional-grade GOLOMB laces in a variety of colors, plus full restoration and relacing services for players who prefer professional work.